
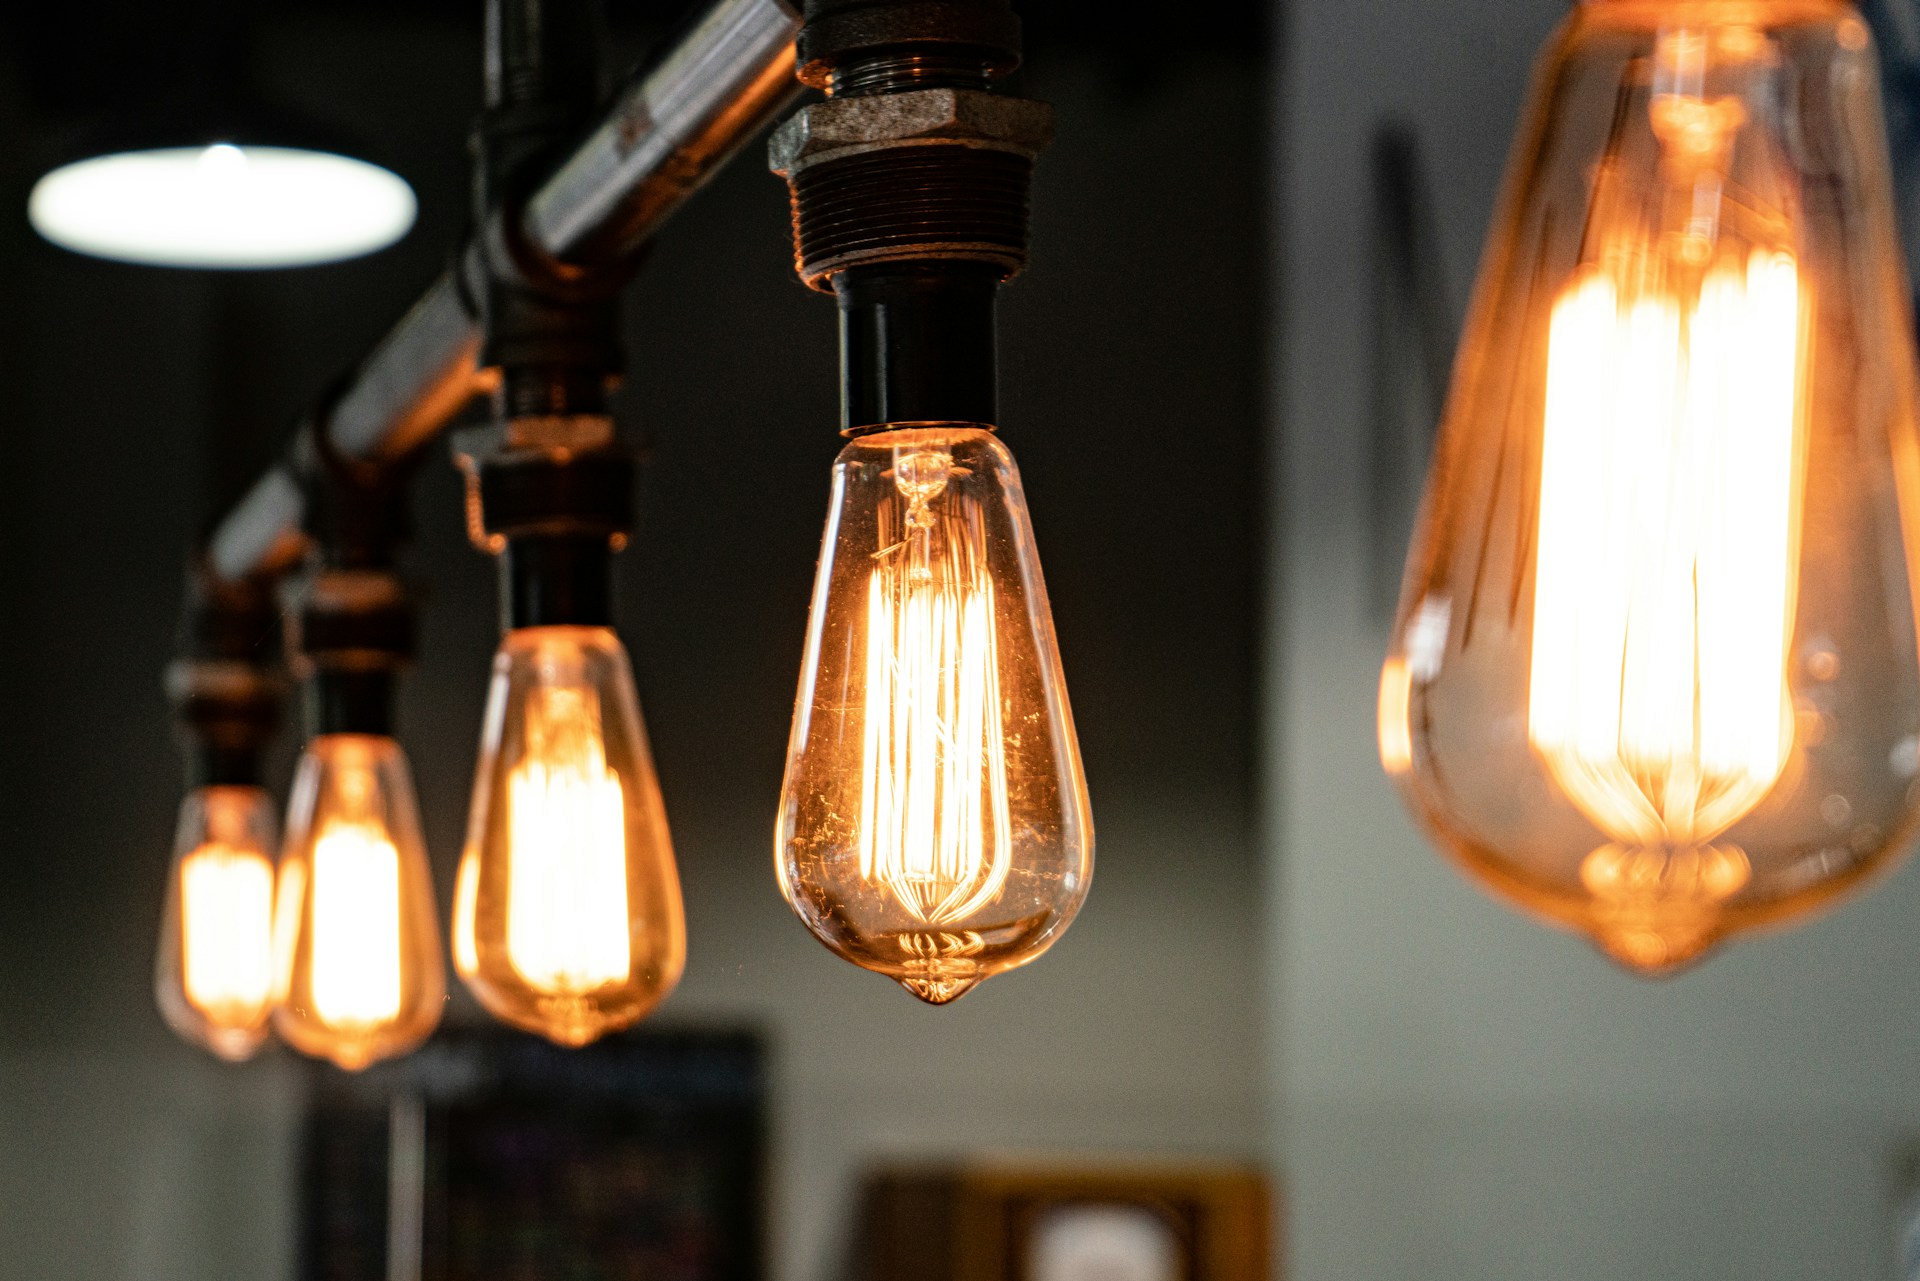
LED lights are known for their efficiency and long lifespan, making them a popular choice for everything from home lighting to large-scale video walls.
Despite their durability, they can occasionally run into problems. Understanding the common issues and knowing how to perform basic troubleshooting can save you time and money.
This guide will walk you through the most frequent problems encountered with LED lights, including flickering, buzzing, and color inconsistencies.
We will provide clear, step-by-step solutions to help you identify the root cause and get your lights working perfectly again. Whether you’re managing a complex LED video wall or just dealing with a faulty bulb at home, you’ll find the information you need right here.
1. Understanding Flickering Lights
One of the most distracting issues with LED lighting is flickering. This can range from a subtle, almost unnoticeable flutter to a constant, strobing effect.
The cause of flickering lights isn’t always the bulb itself; it often points to an issue with the electrical circuit or dimmer compatibility.
Common Causes of Flickering:
- Incompatible Dimmer Switches: Many older dimmer switches were designed for incandescent bulbs and don’t work well with the low wattage of LEDs. This mismatch can cause flickering.
- Loose Connections: A loose wire in the light fixture, switch, or junction box can disrupt the flow of electricity and cause the light to flicker.
- Faulty Power Supply: In more complex setups like LED video walls, a failing power supply unit is a common culprit for flickering across multiple modules.
- Voltage Fluctuations: Changes in your building’s voltage, sometimes caused by large appliances turning on and off, can affect LED performance.
How to Fix Flickering:
- Check Your Dimmer: If you have a dimmer switch, ensure it is rated for LED lights. If not, replacing it with an LED-compatible dimmer is the best solution.
- Secure All Connections: Turn off the power at the circuit breaker and check that all wiring connections to the fixture and switch are tight and secure.
- Test on a Different Circuit: Plug the LED light into a different outlet or circuit to see if the flickering persists. If it stops, the issue is likely with the original circuit’s wiring.
2. Dealing with Buzzing Noises
A buzzing or humming sound from your LED lights can be just as annoying as flickering. Like flickering, this noise is often a sign of incompatibility between components rather than a faulty bulb.
Common Causes of Buzzing:
- Dimmer Incompatibility: This is the most frequent cause. The electronics in some dimmers vibrate when they can’t properly regulate the power to a low-wattage LED, creating a buzz.
- Internal Power Supply: Some LED bulbs and fixtures have an internal driver that can start to hum when it’s failing or is of low quality.
- Loose Wiring: Vibrations from loose internal or external wiring can also produce a humming sound.
How to Stop the Buzz:
- Replace the Dimmer Switch: The quickest fix is to install a dimmer specifically designed for LEDs, such as a CL or ELV (Electronic Low Voltage) dimmer.
- Tighten the Bulb: Sometimes, the bulb just isn’t screwed in tightly enough. Make sure it’s secure in its socket.
- Inspect the Fixture’s Wiring: After turning off the power, check for and tighten any loose connections within the light fixture itself.
3. Correcting Color and Brightness Issues
Have you noticed your LED lights appearing dimmer than they used to, or displaying an inconsistent color? These problems can detract from the ambiance and functionality of your lighting.
Common Causes of Inconsistency:
- LED Aging (Lumen Depreciation): All LEDs gradually lose brightness over their lifespan. This process, known as lumen depreciation, is normal but can be accelerated by overheating.
- Mismatched Bulbs: Using LEDs from different brands or product lines in the same fixture can result in noticeable differences in color temperature (e.g., warm white vs. cool white).
- Failing Driver or Power Supply: The internal driver in an LED bulb or the external power supply for an LED strip regulates power. If it starts to fail, it can cause the light to dim or change color.
- For LED Video Walls: A failing receiving card or module can cause a section of a screen to display incorrect colors or brightness, requiring targeted LED repair.
How to Fix Color and Brightness:
- Ensure Proper Ventilation: Overheating is a primary cause of premature dimming. Make sure your fixtures allow for adequate airflow, especially in enclosed spaces.
- Standardize Your Bulbs: When replacing bulbs, buy them in sets from the same manufacturer and product line to ensure consistent color and brightness.
- Replace Faulty Components: If you suspect a failing driver in a single bulb, it’s usually easiest to replace the entire bulb. For larger systems, a technician may need to replace the power supply.
4. Why Your LED Lights Won’t Turn On
If an LED light fails to turn on at all, the solution can be surprisingly simple. Before assuming the bulb is dead, it’s worth running through a few quick troubleshooting steps.
Potential Reasons for Failure:
- Burnt-Out Bulb: While LEDs have long lifespans, they do eventually fail.
- Loose Bulb or Connections: The bulb may not be screwed in properly, or there could be a loose wire in the circuit.
- Faulty Socket or Fixture: The socket itself could be worn out, or the internal wiring of the fixture might be damaged.
- Tripped Circuit Breaker: The circuit may have been overloaded and tripped the breaker.
How to Get Your Light Working:
- Test with a Known-Good Bulb: Swap the non-working LED with one you know is functional. If the new bulb works, the original one is dead.
- Check the Socket and Breaker: Make sure the bulb is screwed in tightly. Then, check your electrical panel to see if a circuit breaker has tripped.
- Inspect the Fixture: If other bulbs don’t work in the same socket, the fixture or its wiring may be the problem, which might require an electrician’s help.
5. Troubleshooting Premature Burnouts
Are your LED bulbs burning out much faster than their advertised lifespan? This is a clear sign that something is wrong with your setup.
Causes of Early Failure:
- Overheating: This is the number one killer of LEDs. Poorly ventilated fixtures trap heat, drastically shortening the bulb’s life.
- High Voltage: Excessive voltage on the circuit can stress the electronic components inside the LED, causing them to fail early.
- Frequent On/Off Cycles: While LEDs handle switching better than older bulbs, extremely frequent cycling can still degrade components over time.
- Poor Quality Bulbs: Not all LEDs are created equal. Cheaper, off-brand bulbs often use lower-quality components that are prone to failure.
How to Extend Bulb Lifespan:
- Use the Right Fixture: Avoid using standard LEDs in fully enclosed fixtures unless they are specifically rated for them.
- Check Your Voltage: If you suspect high voltage, have an electrician test your circuits.
- Invest in Quality: Purchase LED bulbs from reputable brands that offer a warranty.
6. Addressing LED Video Wall Complications
Large-format displays like LED video walls have their own unique set of challenges, from dead pixels to entire module failures. Effective LED video wall repair requires a systematic approach.
Common Video Wall Issues:
- Dead Pixels or Modules: A single pixel or an entire module may go dark, creating a black spot on the screen.
- Color Inconsistency: One panel may display colors differently from its neighbors, disrupting the uniformity of the image.
- Signal Loss: A section of the wall may fail to display an image due to a faulty receiving card or loose data cable.
How to Troubleshoot a Video Wall:
- Run a Screen Test: Most control systems allow you to run color tests (red, green, blue, white) to easily identify dead pixels or inconsistent modules.
- Reseat Cables: Power down the wall and check that all data and power cables between the sending card, receiving cards, and modules are securely connected.
- Swap Components: A common diagnostic step is to swap a faulty module or receiving card with a known-good one. If the problem moves with the component, you’ve found the source, and it needs to be replaced.
Your Next Steps for LED Repair
Most common LED light issues can be resolved with basic troubleshooting. By methodically checking for problems with dimmer compatibility, loose connections, and overheating, you can often fix flickering, buzzing, or dimming lights without professional help.
For more complex systems like an LED video wall, a systematic approach to identifying faulty components is key to a successful repair.
If you’ve tried these steps and are still experiencing issues, it may be time to call in a professional. An experienced technician can diagnose and resolve deeper electrical problems, ensuring your lighting is safe and reliable.